Getting Started
Disco turns any Linux server (Hetzner, DigitalOcean, AWS, or a Raspberry Pi) into a private Platform-as-a-Service. You get a git push workflow and zero-downtime deployments running on your own hardware, managed by our hosted web dashboard.
This guide will walk you through setting up your server and deploying your first application in about 5 minutes.
Prerequisites
Section titled “Prerequisites”Before you start, make sure you have:
- A Linux Server: We support Ubuntu 24.04 LTS. You need SSH access to this server.
- A GitHub Account: Disco uses GitHub for authentication and to pull your code.
- A Domain Name (Optional): Disco provides automatic subdomains, but you can use your own custom domain if you have one.
-
Install Disco on Your Server
SSH into your server and run the installation script.
Terminal window # SSH into your server as root, or as ubuntu# ssh root@...# Run the install scriptcurl -fsSL https://disco.cloud/install.sh | shThe script will install Docker, set up the Disco daemon, and provision a secure connection. When it finishes, you will see an output that looks like this:
Terminal window ...-> [6/7] Generating invite link...-> [7/7] Installation complete!Visit this URL to complete setup:https://dashboard.disco.cloud/i/...Copy the URL from your terminal and open it in your browser.
-
Connect Your GitHub Account
When you open the link, you will be asked to log in with GitHub. This connects your GitHub account to the web dashboard, where you’ll be able to manage your Disco servers.

Once logged in, you will be taken to your server’s dashboard.
-
Accept the Invite to your Server
You will be asked to accept an invite to your Disco server. Click the “Yes, Accept Invite” button.

-
Configure the GitHub App
To deploy your code, your Disco server needs permission to read your repositories. You need to create and install a GitHub App.
- On the Disco dashboard, you will see a “Set up GitHub integration” button. Click it.
- This will open GitHub in a new tab. Give the app a name (e.g.,
Disco my-server) and click Create GitHub App. - On the next screen, click Install.
- Select the repositories you want to deploy (or select “All repositories”).
After selecting the repositories, you should be brought back to the Disco dashboard.
-
Prepare Your Repository
Disco needs two files in your repository to know how to build and run your app. If you don’t have them, create them now.
Dockerfiletells Disco how to build your application image.Dockerfile # Example for a Node.js appFROM node:latestWORKDIR /codeCOPY ./package.json /code/package.jsonCOPY ./package-lock.json /code/package-lock.jsonRUN npm ciCOPY . /code/.CMD ["node", "index.js"]disco.jsontells Disco which service to expose to the internet.disco.json {"version": "1.0","services": {"web": {"port": 3000}}}web: This service name is special. Disco will route public traffic to this service.port: The internal port your app listens on (must match your app’s config).
disco.jsonsupports many more options for workers, health checks, and crons. -
Deploy Your First Project
Back in the Disco dashboard:
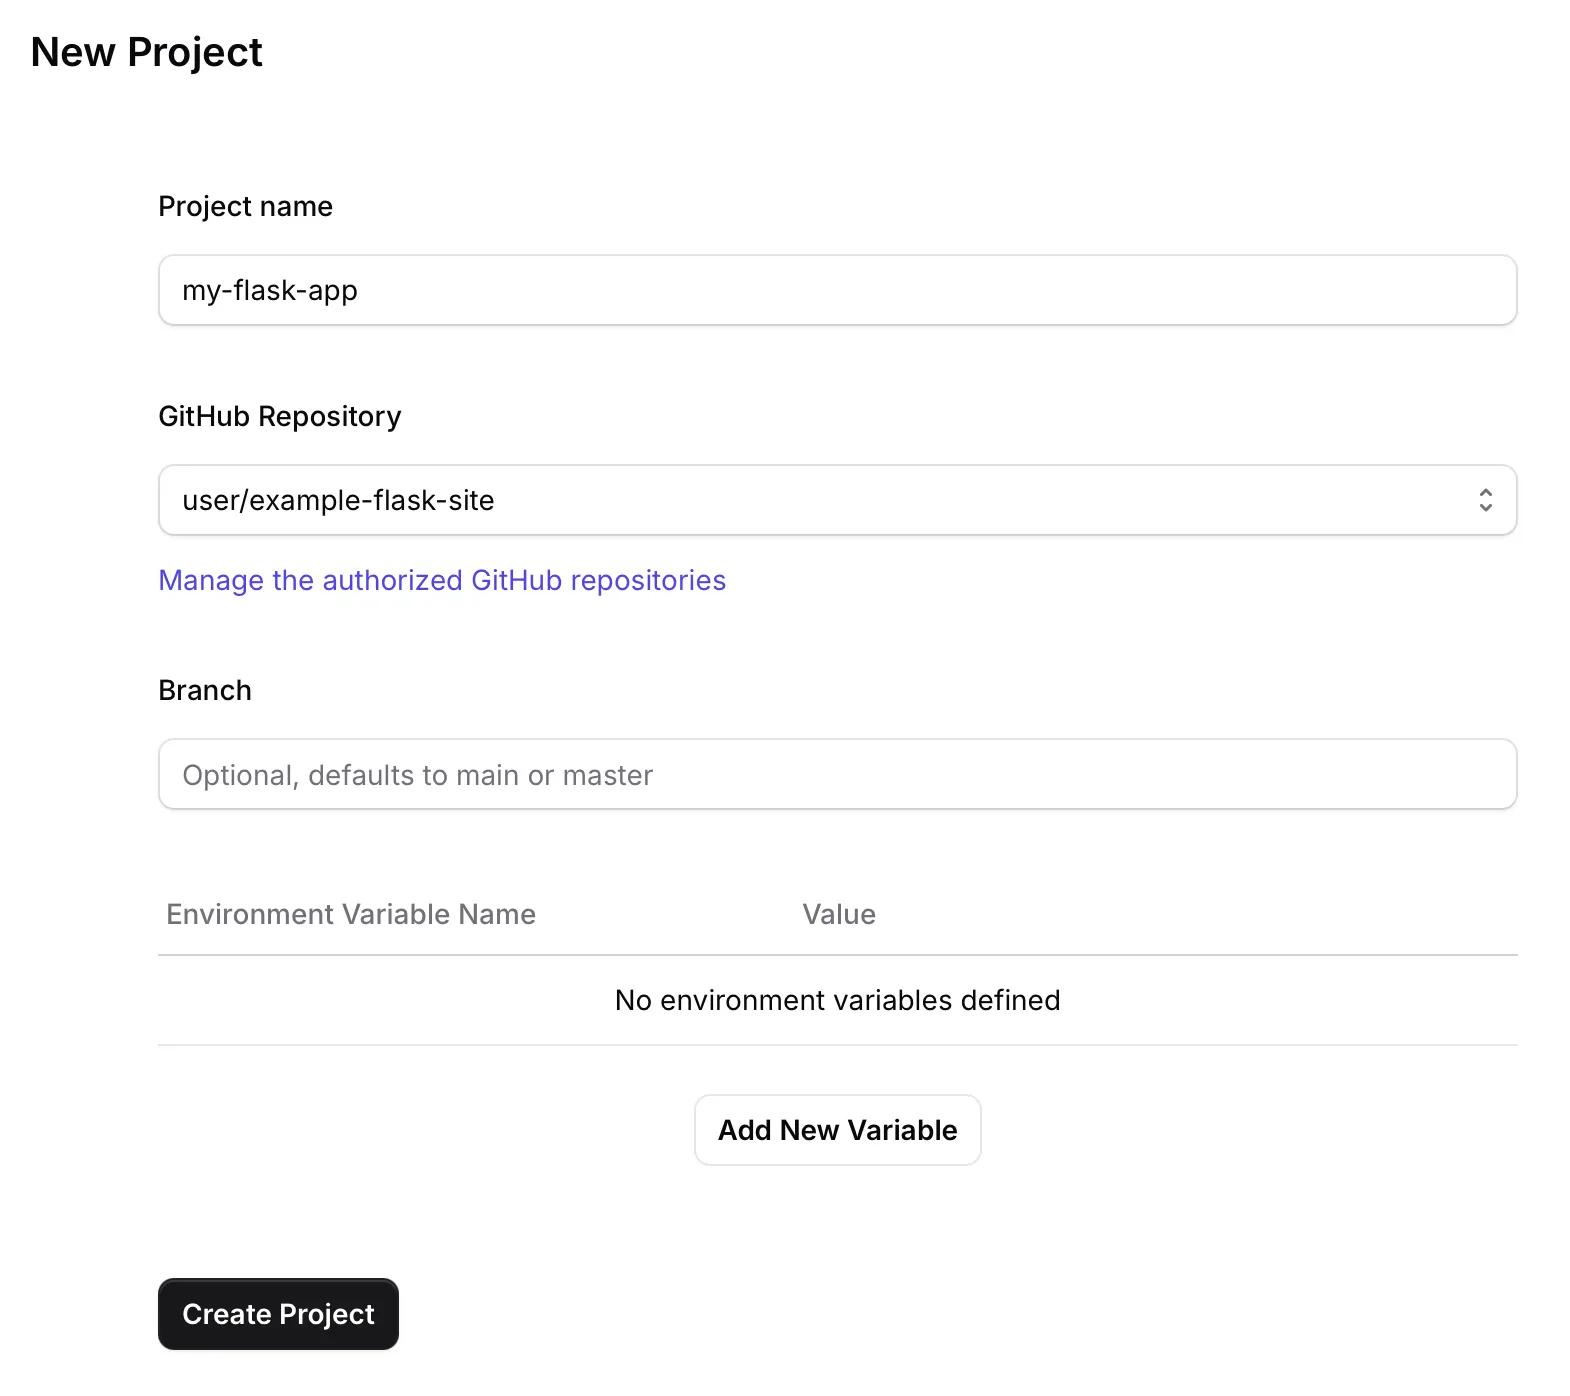
- You should be at the New Project form. Otherwise, click Projects in the left sidebar.
- Name: Give your project a name (e.g.,
my-flask-app). - Repository: Select the GitHub repository you authorized in Step 3.
- Click “Create Project”.
Disco will now pull your code, build the Docker image, and start your application. You can watch the build logs stream in real-time.
Success! Once the build finishes, your app will be live at the URL displayed in the dashboard.